As I head into my third year living in Southern California, I still can't wrap my head around not having seasons. You know - four REAL, distinct seasons. Now, I'm not asking for sympathy over Santa Barbara's year-round 75 degree and sunny microclimate... but for anyone who's lucky enough to live in a place with seasons, just think about the yearly yearning for chilly nights and cozy sweaters after a sweltering, sweaty summer. And aren't the colors and warmth of spring all the more soul-lifting after you endure a miserable, grey winter?
When I think about a place in the United States that really knows how to rock the four seasons like a boss, Vermont tops my list. From the impossibly green fields and long days of summer, to the epic colors splashed across the forests each fall, to the seemingly endless, snow-packed winters, followed by the slow, drip-drip-dripping of maple syrup into tin buckets and the thaw of spring that gives new life to the livestock and fruit trees and winter-weary farmers.

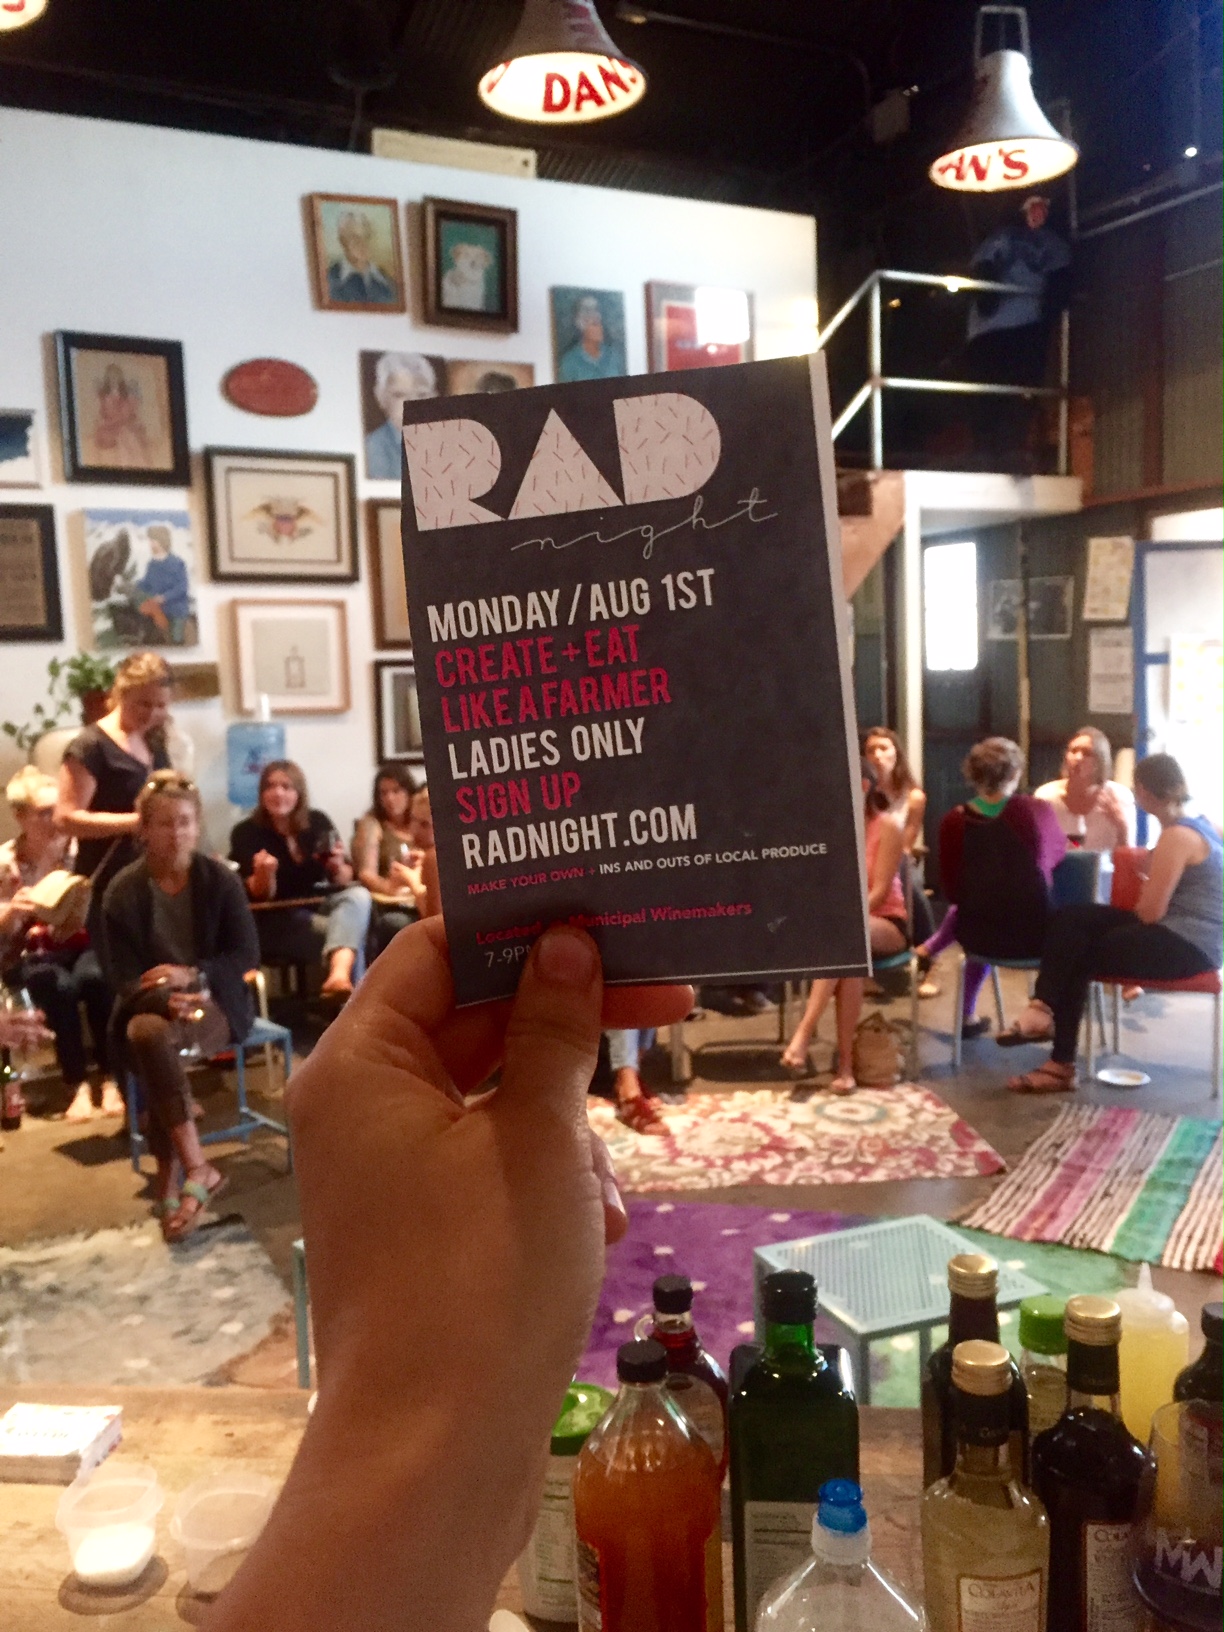
Photo from Stitchdown Farm
Today I'm bringing to you my interview with two Vermont-based farmers in the EAT LIKE A FARMER series: Andrew Plotsky and Rita Champion, of Stitchdown Farm based in Bethel, VT. Andrew and Rita are a husband and wife power duo who had a dream, and they actually DID something about it. More than once I've found myself bewitched by Andrew and Rita's instagram feeds, which are sprinkled with plenty of dreamy, romantic images of life on their rural Vermont farm... but they aren't afraid to share the raw and less glamorous side of keeping a small, diverse farm afloat - whether it's flower arranging in the depths of cavernous basements, wrestling with tangled irrigation lines, bent-over while trimming horse hooves, or chopping heap after heap of firewood by hand.
I'm sending out big thanks and high fives to Andrew and Rita for taking the time share with us a glimpse of their life at Stitchdown Farm. Andrew's words of wisdom are refreshing reminder to embrace the mistakes that inevitably come with a life dedicated to farming and cooking. When the going gets tough, you just have to pull on your boots, lean on your neighbor, embrace the fallen souffle, and plow steadfastly onward. Enjoy the interview below, and be sure to give Andrew and Rita a follow on instagram. PLUS you ought to check out Andrew's awesome work in graphic design, branding + photography!

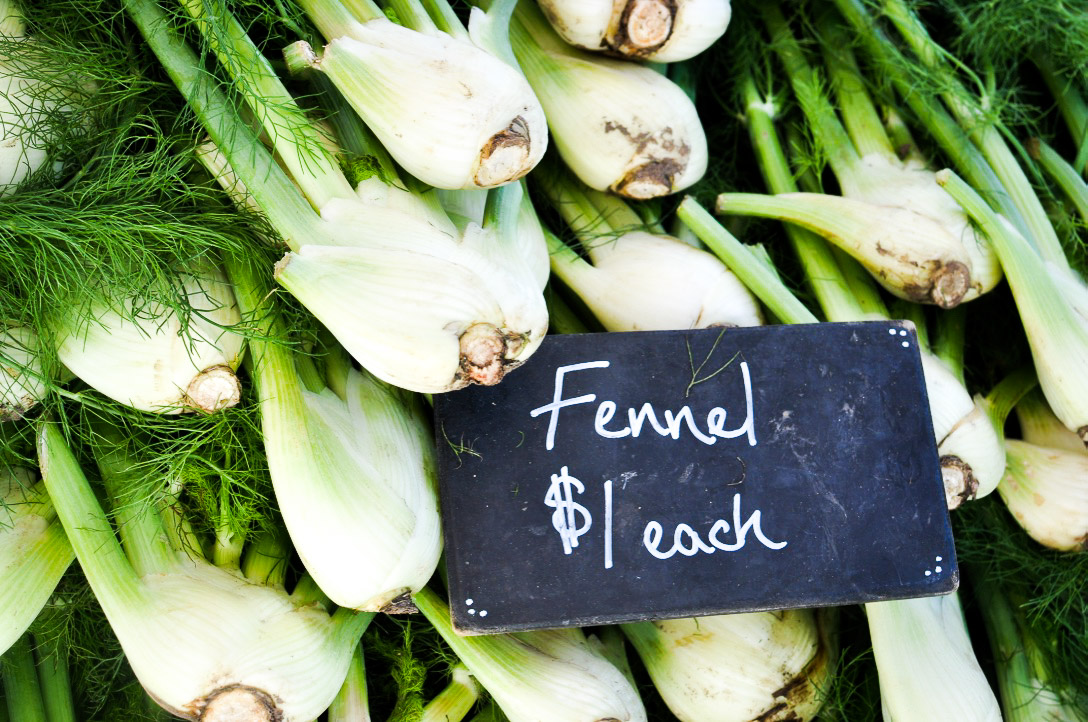
Photo from Stitchdown Farm

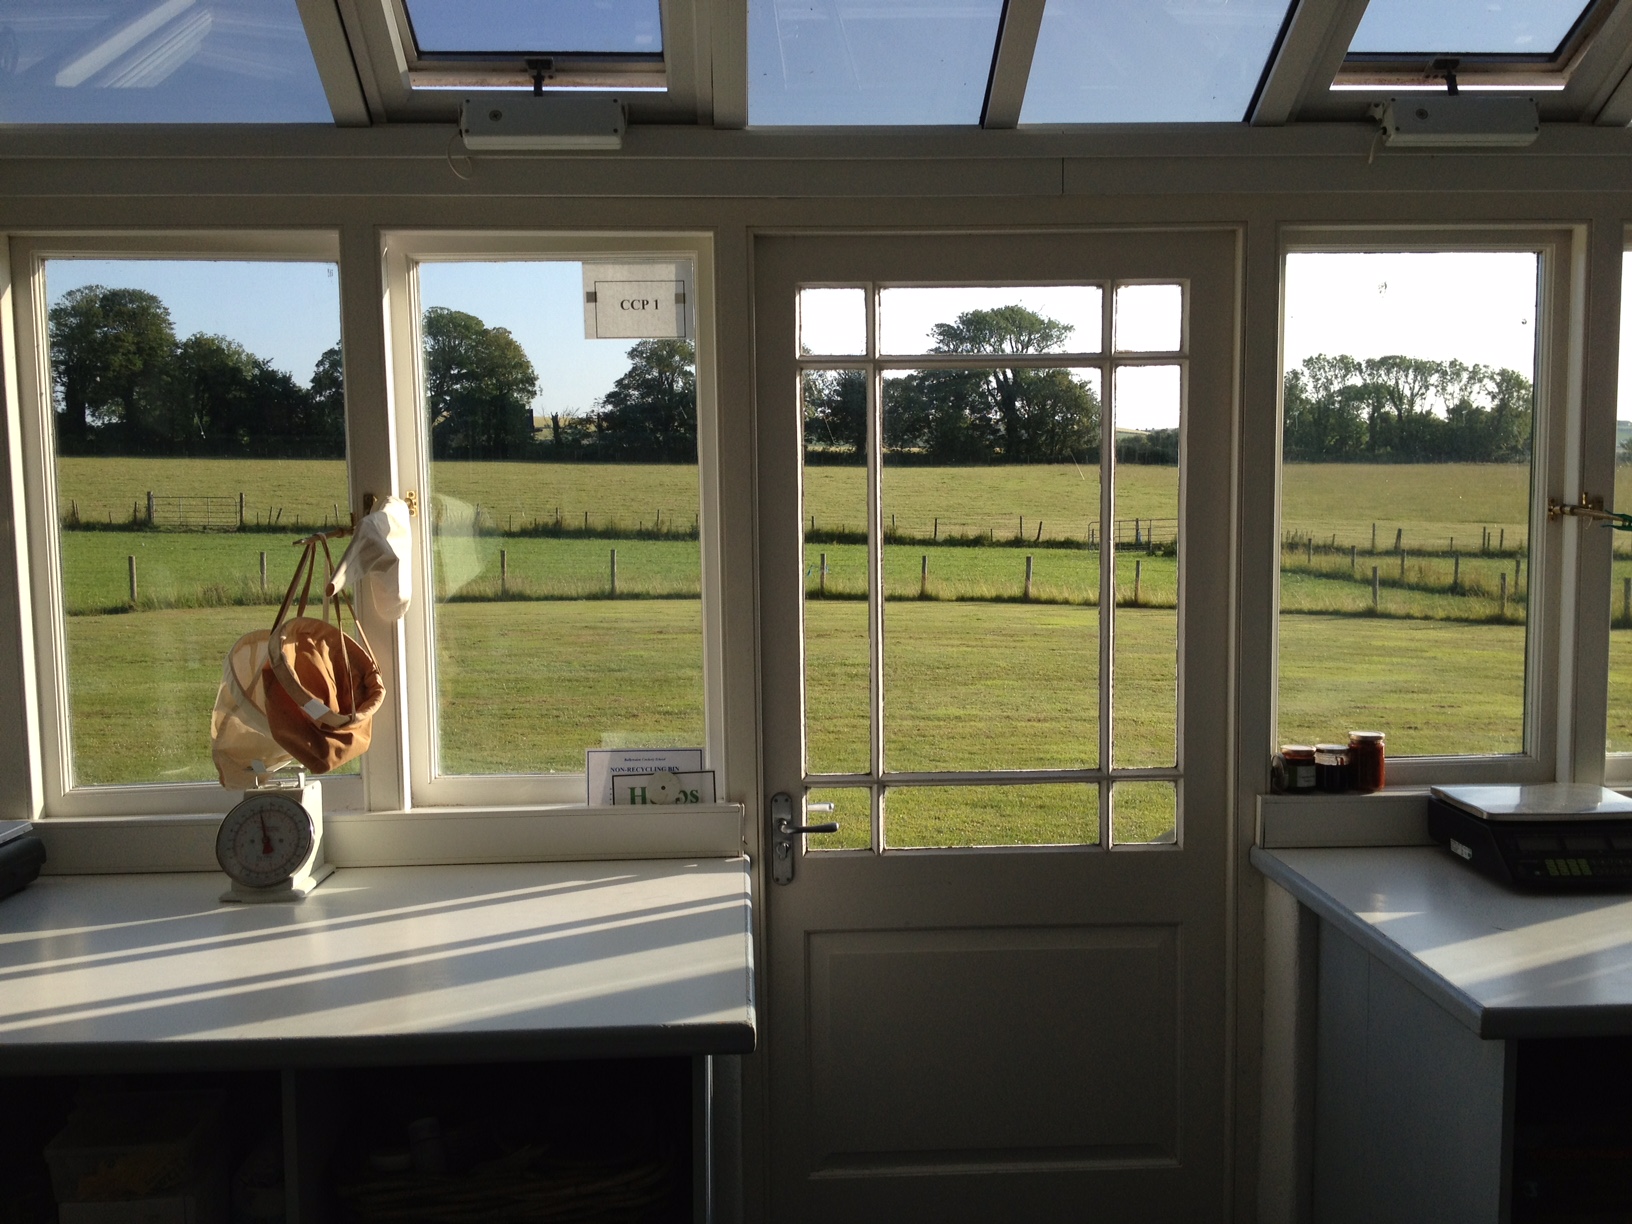
Photo from Stitchdown Farm
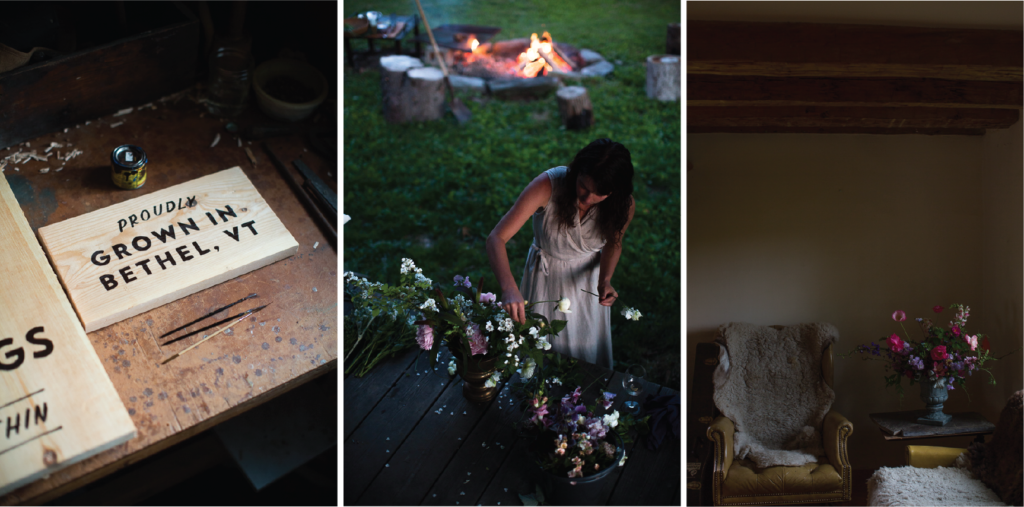
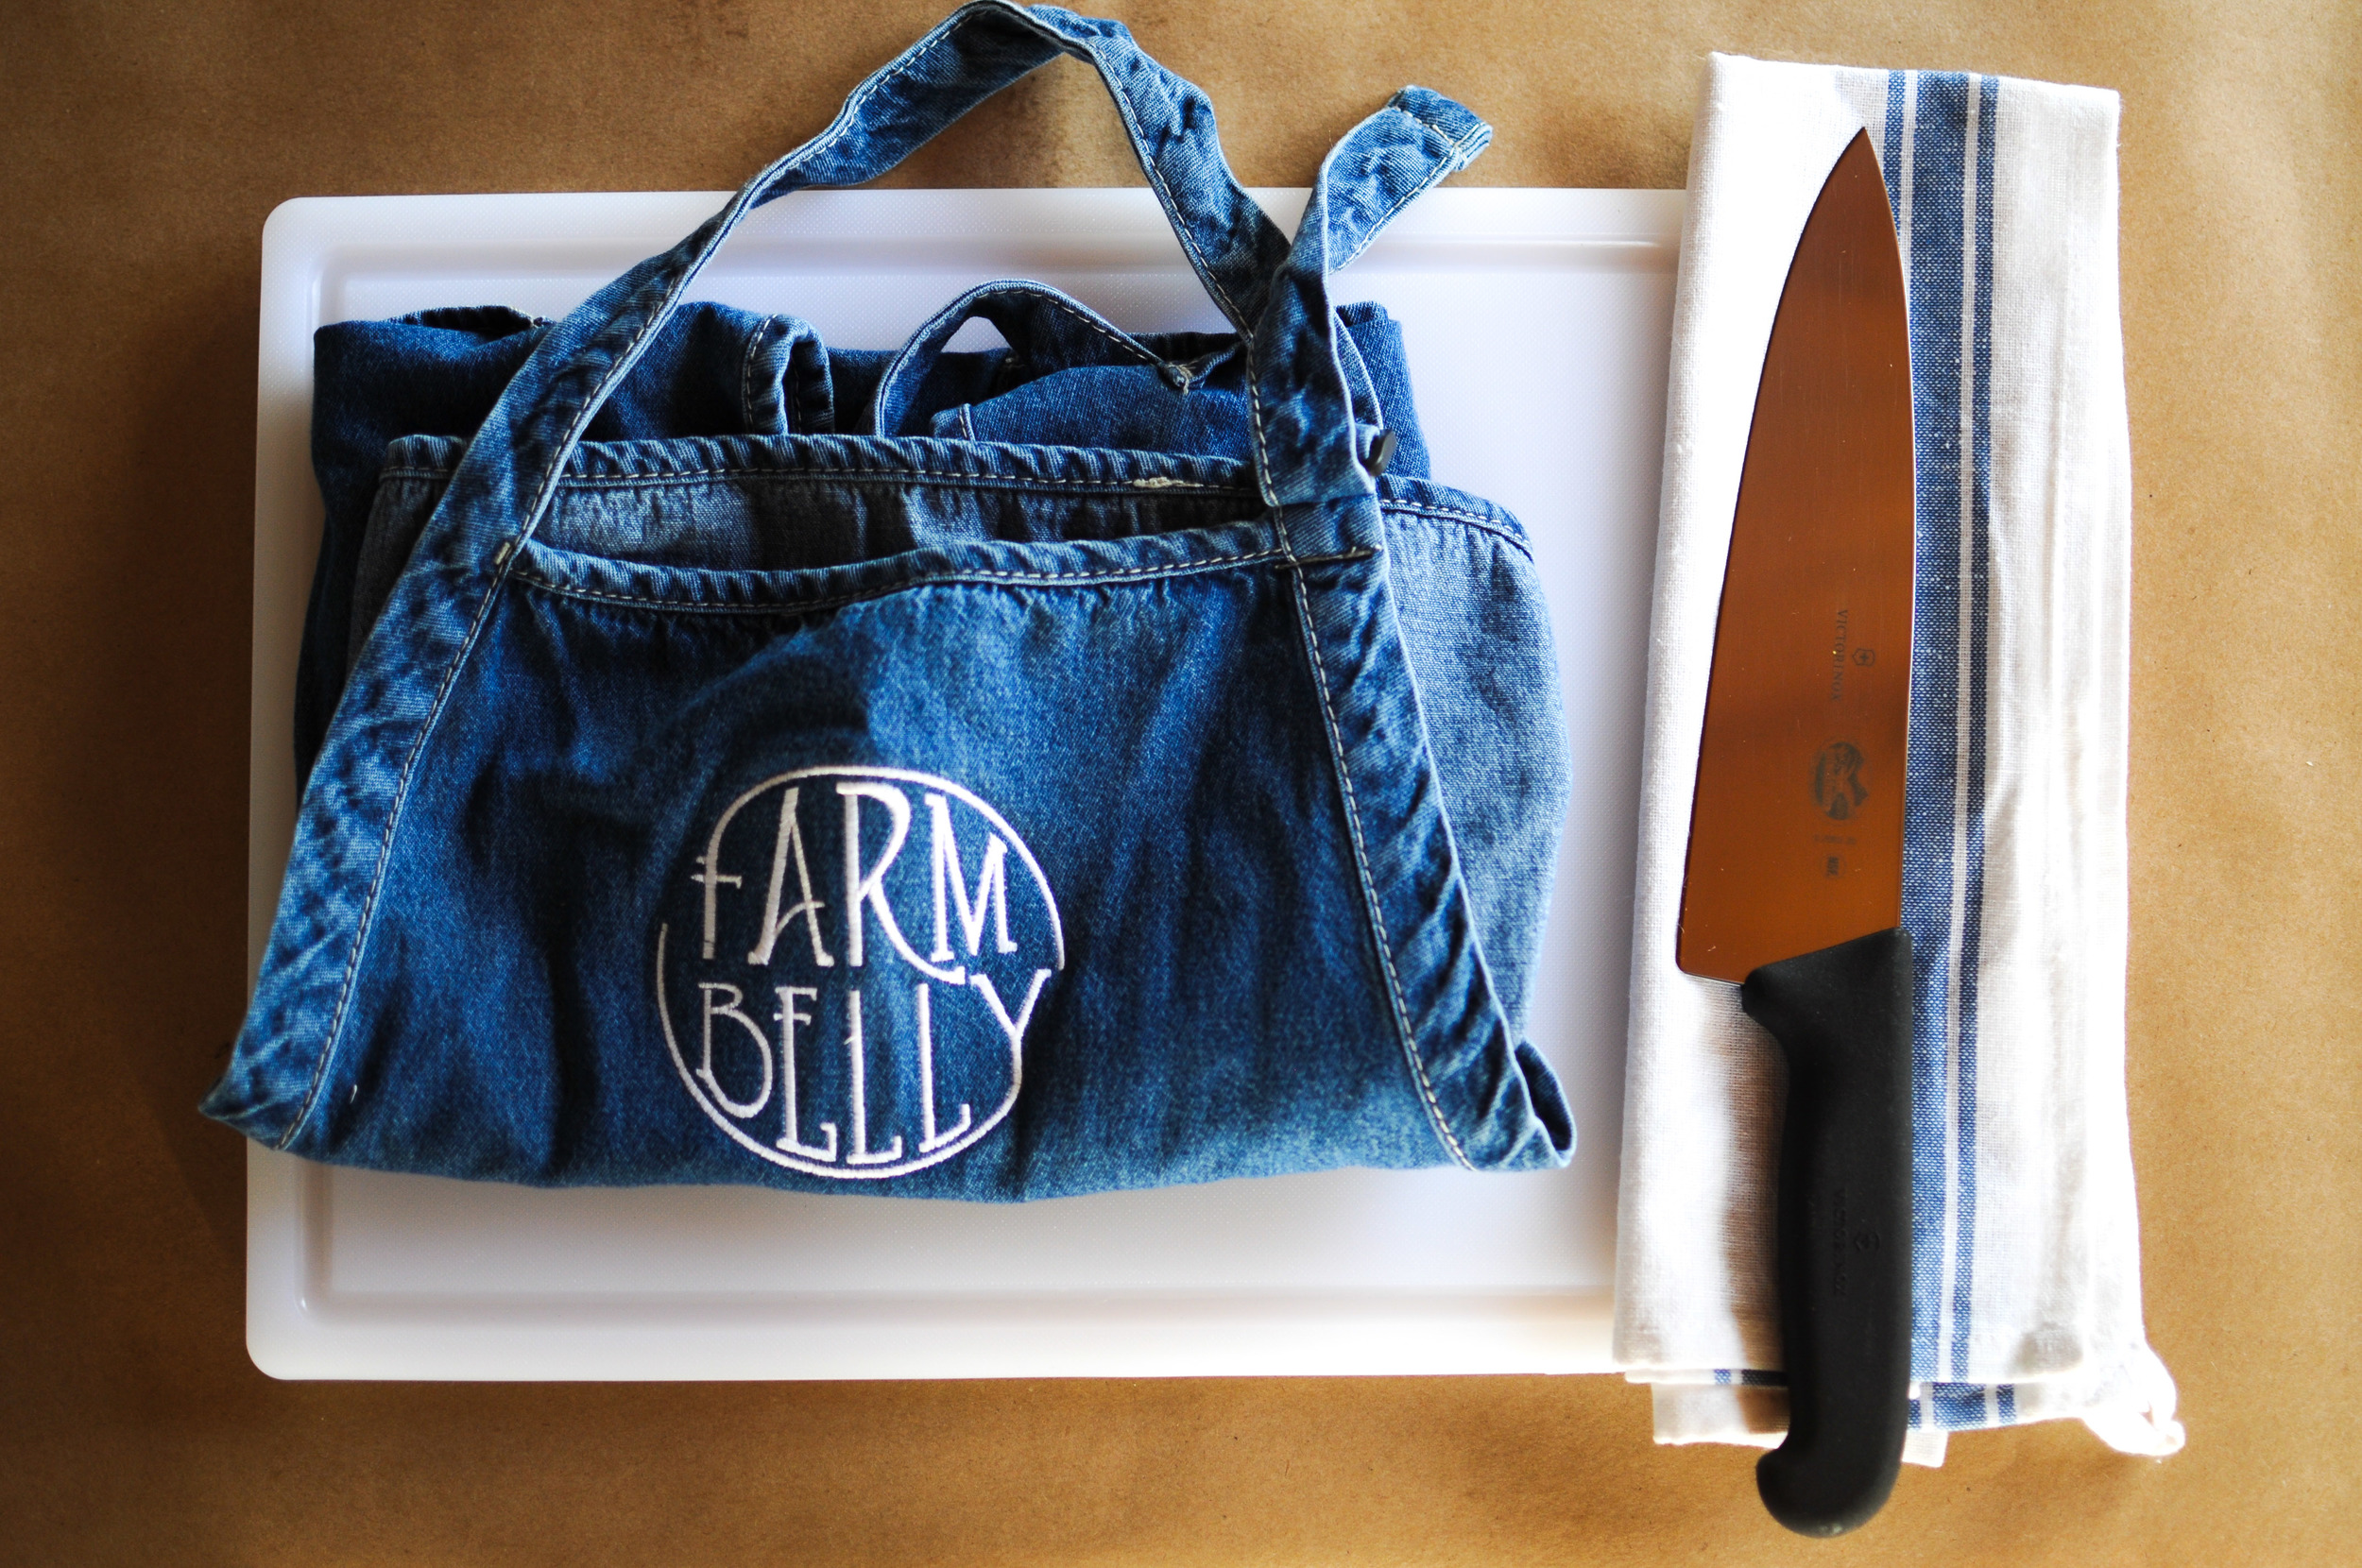
Photo from Stitchdown Farm

Photo from Stitchdown Farm
Where is your farm located and what to you grow/produce? Bethel, VT (the most beautiful place in the world). We grow cut flowers for market and we arrange for special events like weddings and 50 year high school reunions. We grow vegetables for ourselves, raise pigs for limited market shares, chickens for us, make maple syrup in the spring so we can drink it all year long and have a team of belgian draft horses that are schooling us big time in the humility department and we hope to be working with regularly in the fields and woods in the next year or so.
Walk us through a typical day on your farm + in your kitchen. It's pretty much mayhem every day this time of year, constantly shifting. I also work as a graphic designer to make this whole mess float so it's a delicate and unpredictable ballet swirl with heavy shitladen boots to jump between farm and office. These days it's up at 5 or so to coffee and cookie and feed the pigs chickens and bring the horses in from pasture. Then breakfast, most always egg on toast with vegetables and meat of some kind. rotates. often there's kimchi. then if there's a disaster I deal to the best of my abilities. Rita my wife is the real boss of the flower farm so she's hustling all day out in the fields, either harvesting, prepping beds, seeding, transplanting, or arranging flowers. We have weddings most Saturdays and solid farmers market Thursdays so the end of the weeks is double-time with harvest and arranging. Hustling to get that firewood split, pastures brush hogged behind the horses and in front of the winter. Getting ready to get ready for the fall then splash into bed for the winter.
What is your favorite fruit/vegetable grow, and what's your go-to recipe to use it? Radicchio hands down in the food side. Love the bitter greens, generally. Radicchio ceasar is really hard to beat. It's a shitload of anchovies, garlic and mayonnaise and epically delicious. Brown lisianthus and sweet peas are the favorite flowers to grow around here so far. They're both painfully attractive and elegant.
What kitchen tool could you not live without? I use a sharp high carbon steel chefs knife and small wooden spoon for approximately 96% of my kitchen activity.
Favorite cookbook? Depends on the time of day, emotional trauma of the day and the dew point. I know I'm way behind the ball on this but I've been deep in Momofuku of late. That fish sauce vinaigrette is insane I could put in an IV straight to the taste buds, no joke. Otherwise, Tartine Bread is revelatory and changed my life when it came out. Jane Grigson, Hugh Fearnley Whittingstall and Elizabeth David are on top of my personal canon.
When cooking, do you typically use recipes or just go by instinct? 1% recipe, 99% intuition which comes from110% learning from fucking up and making gross things.
Who in your life has been a mentor/teacher for you as a farmer? As a cook? Note the 110% line item from above... I learned to make bread from Lorenzo the peasant on his ramshackle farm in Sicily. Learned how to cook meat from Brandon on Vashon, Vegetables from Alice Waters and Terry Romero and all the rest from being stubborn and curious.
How has living on a farm influenced your relationships with family, friends, and your local community? They are inseparable, there is no family friends or community as divorced from the farm. They are rich, challenging, delicious, painful, and fulfilling.
What advice do you have for people who want to get more experience growing their own food + cooking farm fresh produce? Just freaking do it. Seriously. Brandon and I use to say that the only way to do it is to do it. You can read about it for a while. you can read about it while you're doing it. probably should. but there's actually no substitute for action. jump in with both feet. pay attention. your souffle's gonna fall. probably every time for a long time. but you're smart and you'll learn. just don't give up when your first try comes out with maggots and weird juice coming out the bottom. it gets better.
Please share one of your recipes for a simple, farm fresh dish that you can't get enough of this summer! This is going to sound like a joke, but it's not a joke. go get flour from the farm around the corner, like for example Rogers Farmstead if you're in Bethel, VT. make bread that is fermented. let bread cool entirely. slice bread. take tomato that you just harvested. slice it. place on slice of bread. place exactly 2.7oz. olive oil on top with salt. there you go you gotcherself breakfast lunch and dinner for the next month.