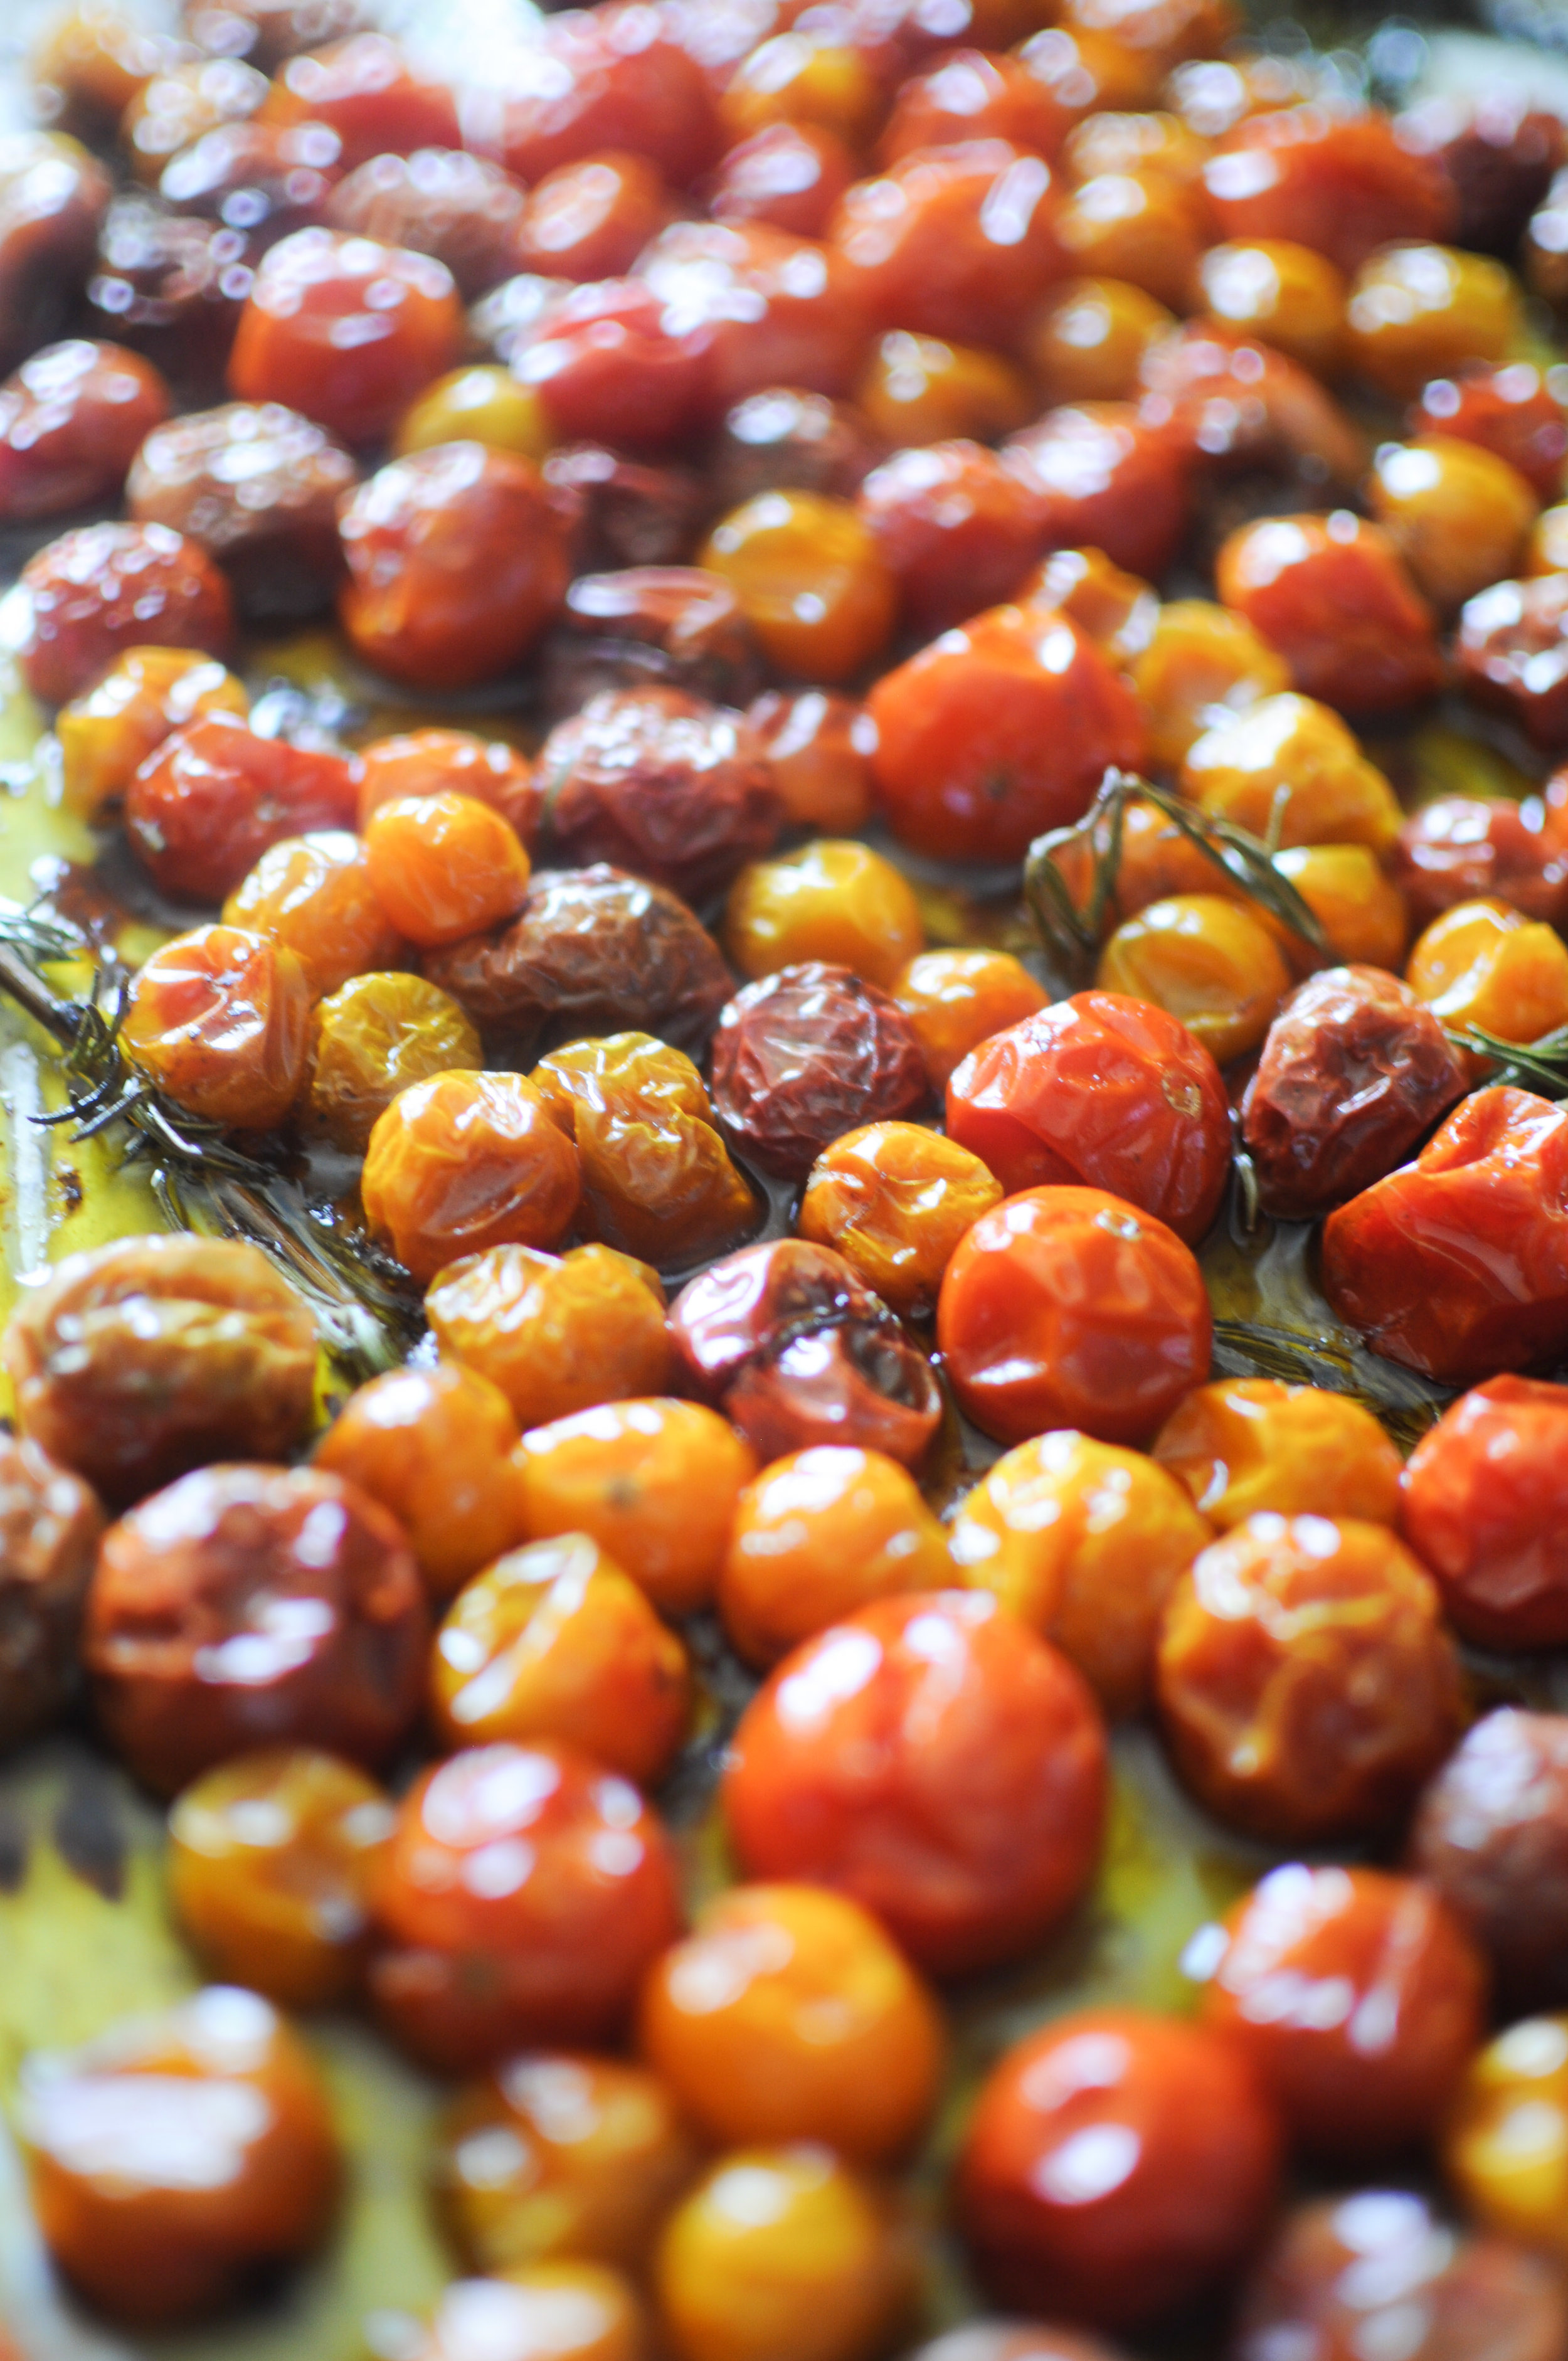
Without question, cherry tomatoes are my favorite kind of tomato. And my favorite way to cook these sweet bursts of sunshine? Slow roasting them in a warm, luxurious bath of olive oil, fresh herbs, and garlic. This method is called a confit (pronounced con-FEE ), which is a culinary technique where an ingredient is slow cooked in liquid fat. And when I say slow cooked, there's an emphasis on the world slow – as this recipe needs 2-3 hours in the oven.
That being said, this couldn't be easier to prep – just toss your cherry tomatoes onto a rimmed baking sheet with olive oil, herbs, garlic, and some flaky sea salt. The end result is a bevy of cherry tomatoes bursting with juicy, caramelized sweetness – not to mention the leftover olive oil that's infused with glorious tomato-garlic-herb-iness. The slow roasted tomatoes (and the aforementioned infused olive oil) are fabulous on toasted bruschetta, incorporated in bright summer salads, topped on warm ricotta or polenta, or served alongside grilled meats, fish, or chicken. The recipe (which was slightly adapted from the wonderful blog ful-filled) is very forgiving, so feel free to change it up / use what you have on hand.

SLOW ROASTED CHERRY TOMATO CONFIT
PREP + COOK TIME:
- 2 lbs cherry tomatoes
- 1 cup olive oil
- 4-5 cloves of garlic, peeled and smashed
- 6 sprigs fresh thyme
- 4 sprigs fresh rosemary
- Flaky sea salt
- Pre-heat oven to 275F.
- Fill a rimmed baking tray with whole cherry tomatoes. Add olive oil, garlic, thyme, and rosemary to the tray and sprinkle generously with flaky sea salt.
- Roast, uncovered for 2-3 hours until the tomatoes are swollen and the skins are wrinkled (total time will depend on the size of your tomatoes).
- Cool tomato mixture to room temperature, discard the rosemary, thyme, and garlic (this lengthens the shelf life of the tomatoes). Store tomatoes with oil and accumulated pan juices in an airtight container (I use mason jars) in refrigerator up to 2 weeks, or freeze up to 2 months. Bring tomatoes to room temperature before serving (as the olive oil will harden in the fridge/freezer).
Gazpacho with Tomato Basil Oil
The saying goes that you gotta make hay when the sun shines. Well, I'd like to add my own version: You gotta make gazpacho soup when the days are hot and the tomatoes are ripe! Gazpacho is a traditional chilled soup made by blending the delicious fruits of summer - tomatoes, peppers, cucumbers, etc. There are approximately a million different recipes for gazpacho soup, so get creative and use whatever fruits and veggies you have available (my friend and badass chef + lady boss Kristen Desmond makes a fabulous Watermelon Gazpacho for her gourmet-to-go spot in Santa Barbara, Flagstone Pantry).
The real secret is just starting with the best + freshest ingredients possible and to balance your flavors - taste the soup constantly, adjusting the salt and vinegar as needed. The soup should taste seasoned but not salty, tangy but not sour. So here's hoping you have a glut of tomatoes in your garden or from the farmers' market, and you can whip up this soup without turning on the oven or stove in your hot summer kitchen. This recipe is lightly adapted from Samin Nosrat’s recipe in the NY Times.

Photo: Jennifer Davick; Styling: Linda Hirst
GAZPACHO SOUP WITH TOMATO BASIL OIL
Prep time:
- 1 small red onion
- 3 Persian cucumbers, peeled
- 1 large red bell pepper, seeded, ribs removed
- 1 jalapeño pepper, seeded, ribs removed
- 2 ½ pounds heirloom or cherry tomatoes (about 8 1/2 cups)
- 1-2 cloves garlic
- ½ cup extra-virgin olive oil
- Kosher salt
- 1 tablespoon red wine vinegar TOMATO BASIL OIL
- Handful fresh basil leaves
- ¼ cup extra-virgin olive oil
- 1 cup cherry tomatoes, halved
- Kosher or flakey sea salt
- Cut half the onion, 2 of the cucumbers, 3/4 of the bell pepper and the entire jalapeño into 1-inch pieces. Place in the bowl of a food processor or blender. Add tomatoes, garlic, olive oil and 2 teaspoons kosher salt. Blend at high speed until completely smooth. (If necessary, blend in batches, then stir together.)
- Place a fine-mesh sieve over a large bowl, and strain soup (discard the solids).
- Finely dice remaining onion, cucumber and pepper, and add to soup (I recommend holding back a few of the diced vegetables, and using them as a garnish for the soup at the end). Stir in the red wine vinegar. If desired, add water 1 tablespoon at a time to thin out the soup. Taste, and adjust salt and vinegar as needed. Cover, and chill soup for 45 minutes. (Chill 6 soup bowls now too.)
- Make the basil oil: Finely chop basil. Place in a small bowl, and cover with the olive oil. Add the halved cherry tomatoes and a generous pinch of salt. Toss to combine, then taste and adjust salt. Set aside.
- To assemble, ladle soup into chilled bowls. Garnish with basil oil and additional diced vegetables. Serve immediately.
DIY Herb Salt
When life gives you lemons, you make lemonade. And when life gives you herbs? You make herb salt. As the name suggests, herb salt is literally just fresh herbs chopped together with kosher salt (and sometimes other aromatics like lemon zest, garlic, etc) - and it's a ridiculously easy way to add vibrant, fresh flavors to your dishes. I keep my herb salts close at hand for seasoning meat, fish, and veggies - and it pairs fabulously with eggs, grilled corn on the cob, and homemade popcorn. Keep reading for the full recipe + technique for making your own herb salt, and I encourage you to get creative with the different combinations of herbs you use, and think about types of dishes that will pair well with each blend.
Here are some of my tried and true herb salt flavor combos:
Fresh Summer Flavors: Basil, Chives, Dill, Lemon Zest - pair with fresh vegetables, eggs, toasted bread, and fish.
Classic Gremolata: Parsley, Garlic, Lemon Zest - pairs nicely with roasted asparagus, grilled salmon, and steak.
Savory & Rustic: Rosemary, Thyme, Sage, Garlic - pairs well with roasted root vegetables, potatoes, and roasted pork.
Classic French Fines Herbs: Parsley, Tarragon, Chives, Chervil - use with fish, steak, lamb, and toasted baguettes slathered in goat cheese.
Cilantro-Lime: Cilantro, Lime Zest, Garlic - perfect for Mexican-inspired fish or steak dishes, corn on the cob, and popcorn.


DIY HERB SALT
Prep time:
- 1 cup loosely packed assorted fresh herbs
- 1 lemon, zested
- 1⁄2 cup kosher salt
- Finely chop all of the herbs, zest the lemon, and mix together in a small bowl.
- Spoon out half of this herb mixture on your cutting board, then pour half of the kosher salt (about 1/4 cup) on top of the herbs.
- Chop the salt and herbs together until it forms a consistent paste.
- Add the remaining chopped herbs and kosher salt to the mixture and continue chopping until the herb salt is evenly blended.
- Spread the herb salt onto a rimmed baking tray and allow to dry out overnight, or until there is no moisture left (this is important so the herb salt can be stored without going bad). To speed up the drying, you can put the tray of herb salt in your oven on the lowest setting (usually 170F) with the door proped open for 1-2 hours (make sure to watch closely so the herbs don't burn).
- Store the dried herb salt in a jar in a cool, dry spot in your pantry, where it will keep for several months.
Summer Tomato, Zucchini & Corn Galette
As a recovering perfectionist, I’ve come to realize that galettes (aka rustic tarts) are good for me. They teach me to embrace the the imperfect, and they’re a reminder that it’s what’s on the inside that counts. A galette is just a fancy name for a simple pastry dough that wraps up a delicious filling - whether sweet or savory. At peak summer, I love whipping up a filling full of summer veggies and fresh herbs, wrapped up in golden, crispy pastry. For my most recent galette creation, I was inspired by this stellar recipe from Deb Perlman, of the blog Smitten Kitchen. Deb is my go-to girl for dishes that are crowd-friendly and turn out EVERY TIME, so make sure you check out her blog and cookbooks. Inside this humble galette, we've got ripe summer tomatoes, tender zucchini, juicy corn, and fresh basil + salty parmesan cheese. I highly encourage you to use this recipe as a jumping off point - feel free to mix up the filling with whatever produce and flavors you have on hand.


SUMMER TOMATO, ZUCCHINI, AND CORN GALETTE
Serves: 4-6
Prep time:
-
FOR THE PASTRY
- 1 1/4 cups (160 grams) all-purpose flour
- 1/4 teaspoon table salt
- 8 tablespoons (4 ounces or 113 grams) cold unsalted butter, cut into small pieces
- 1/4 cup (60 grams) plain yogurt or sour cream
- 2 teaspoons (10 ml) fresh lemon juice
- 1/4 cup (60 ml) ice water FOR THE FILLING
- 2 tablespoons olive oil
- 3 cups cherry or grape tomatoes (or 1 can chopped tomatoes)
- 1 ear corn, cut from the cob (about 1 cup)
- 1 zucchini or summer squash, diced
- Kosher salt and freskly ground pepper to taste
- Splash of balsamic vinegar
- Handful fresh basil, chopped
- 1/2 cup freshly grated parmesan cheese
- 1 egg yolk + splash of water (for pastry glaze)
- MAKE THE DOUGH: Whisk stir the flour and salt in a large bowl. Sprinkle bits of butter over dough and using a fork or your fingertips, work it into the flour until the mixture resembles coarse meal, with the biggest pieces of butter the size of tiny peas. In a small bowl, stir together the sour cream, lemon juice and water and add this to the butter-flour mixture. With your fingertips or a wooden spoon, mix in the liquid until large lumps form. Pat the lumps into a ball. Wrap with plastic and refrigerate for 1 hour, or up to 2 days.
- MAKE THE FILLING: In a large sauce pan, heat the olive oil and add the tomatoes and a pinch of salt. Cover your saute pan with a lid and heat over high heat. Roll the tomatoes around to make sure they cook evenly. (If using canned tomatoes instead of cherry tomatoes, cook tomatoes with the cover off to evaporate as much liquid as possible.) When most of the cherry tomatoes have burst, remove lid, turn heat down to medium and add the corn kernels and diced zucchini, sauteing until the corn and zucchini soften, 3-4 minutes. Stir in a splash of balsamic vinegar and the chopped fresh basil, just stirring them in, then turn off heat. Adjust seasonings if needed. Transfer mixture to a large plate and spread it out, so that it will cool faster. You want it cooled to at least lukewarm before assembling the galette.
- ASSEMBLE GALETTE: Heat oven to 400 degrees. On a floured sheet of parchment, roll the dough out into a 12-inch round (it doesn’t need to be perfectly shaped - remember, we're embracing imperfection)! Gently transfer the parchment with the rolled-out dough onto a baking sheet. Scoop the tomato-zucchini-corn mixture with half of parmesan and spoon the mixture into the center of the dough, leaving a 2-inch border. Sprinkle with almost all of remaining parmesan, leaving a pinch or two behind for the crust. Fold the dough over the filling, pleating the edge to make it fit. The center will be open. Brush crust with egg yolk glaze (1 egg yoke beaten with slash of water) and sprinkle glaze with last pinches of parmesan.
- BAKE THE GALETTE: For 35 to 40 minutes, or until puffed and golden brown. Remove from the oven and let stand for 5 minutes, then slide the galette onto a serving plate. Cut into wedges and serve hot, warm or at room temperature.